Solid Wood Kitchen Cabinet Step by Step Manufacturing Process
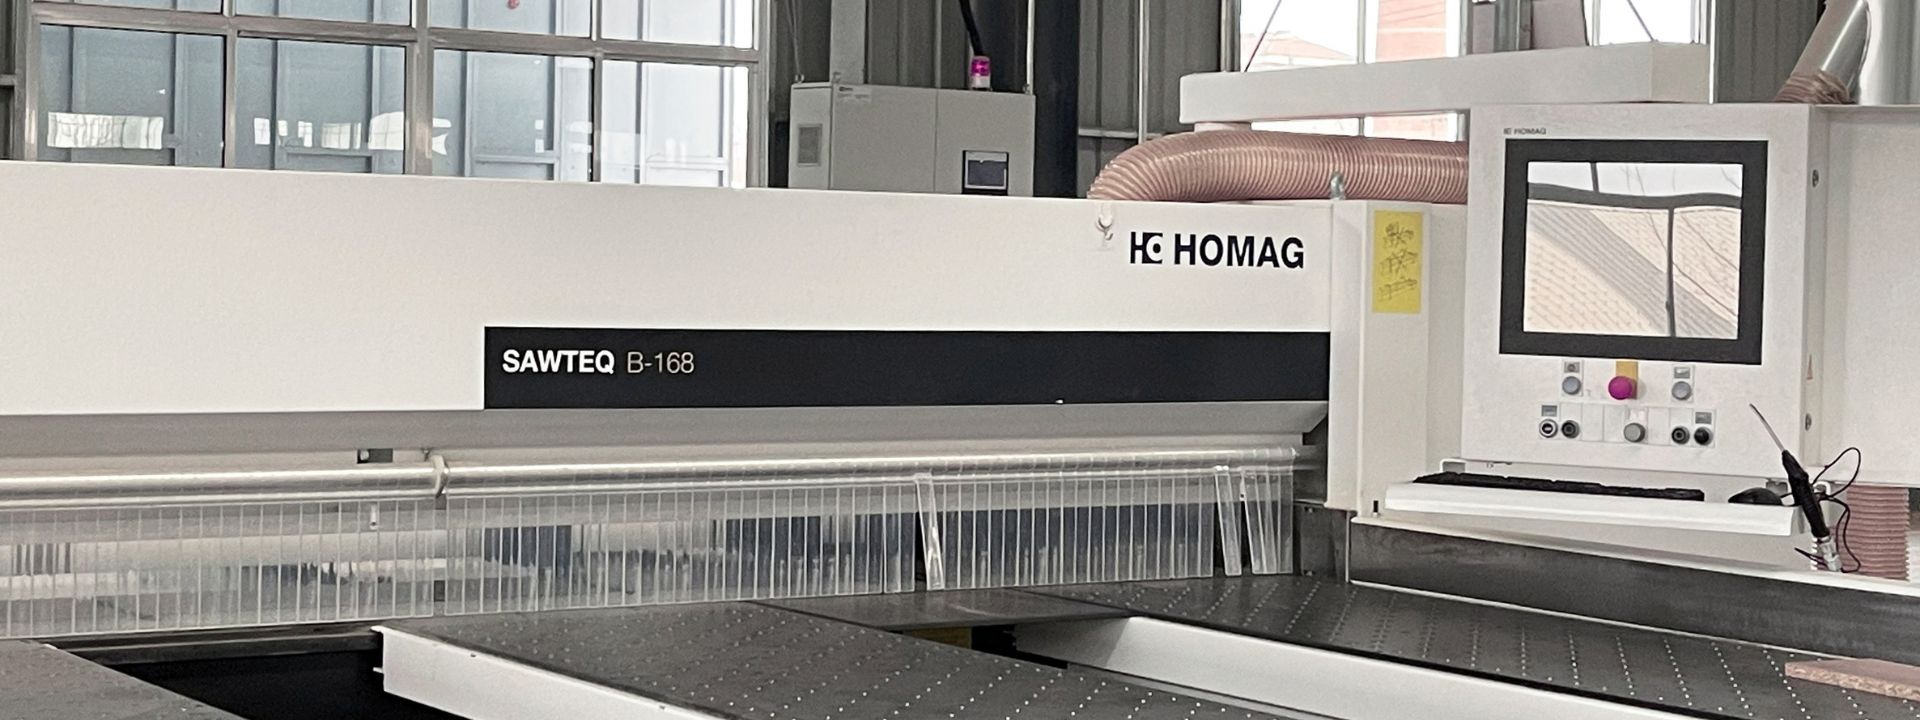
At Musen Wood, we use Italy imported paint machine, Cefla auto spray machine, Germany imported Homega equipment. With modern equipment, we’ll provide u best quality products.
Meantime, we strictly follow international kitchen cabinet manufacturing standards, use TSCA certified Carb P2 plywood / particle board, meet FSC standard solid wood.
Step 1, Prepare Raw Material
After we receive PO, our engineer will break up the PO and get BOM, bill of material for short, list below,
– door component, door stile / door rail / door center panel;
– drawer front component, stile / rail /center panel;
– Side panel / top bottom panel / back panel / shelf;
– Glide, hinge, screws, door bumpers, shelf support, metal bracket, corner block;
– Carton;
– Packaging material, foam, cardboard etc.
Then we purchase S4S (4 sides sliced panel) etc all above components.

Step 2, UV Plywood Carcass
We purchase Carb PII birch plywood, A grade, 4×8 size, then UV primer and UV coat. The UV finish is hard, anti-scratch.
– Usually side panel is 1/2” thick with birch veneer plywood;
– shelf is 3/4” thick birch veneer plywood;
– back panel is 5mm thick plywood;
Depends on your project budget, below configuration can save you lot of money,
– the side panels can be 1/2” carb P2 particle board;
– shelf is 3/4” thick or 5/8” thick carb P2 particle board;
– back panel is 5mm thick MDF;
– Glide is housebrand epoxy non soft close and soft close hinge;
– the finish is melamine paper;
– color can be customized melamine paper same as door color.
If carcass is particle board, then no need to UV, the surface is melamine paper.
Step 3, UV Solid Wood Drawer Box
For frame kitchen cabinet, the drawer box is UV clear coat, 5/8” thick,
– Material can be solid wood birch / rubber wood / poplar drawer box;
– 9mm plywood drawer bottom;
– dovetail construction;
– soft close ball bearing slide, or undermount full extension glide;
– DTC or SH-ABC or Blum or house brand;
Other configuration is 1/2” or 3/4”UV clear coat plywood drawer box with or without dovetail construction.
Step 4, Assemble Doors / Drawer Fronts / Face frame
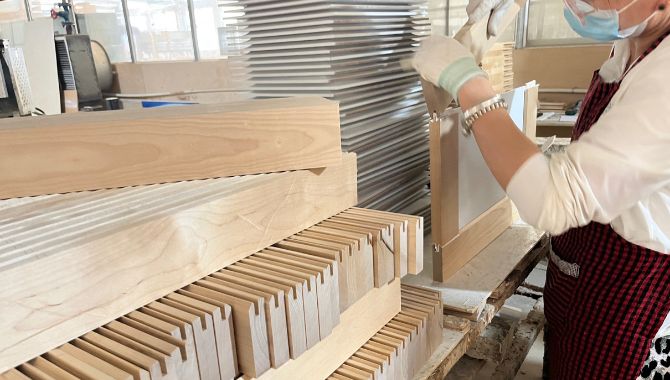
Normally we purchase birch lumbers, 4 sides sliced, depends on the color, if paint color (wood grain can’t seen), then we use C grade birch lumbers; if stain color (wood grain is visible), then we use AB grade birch. Then we groove ourself (get door profile); some time we purchase cut to size S4S (4 sides cut to size component) too. Thus door stiles, door rails are ready.
If paint color, for MDF center panel, we’ll primer first, because in winter time cold summer time hot, wood has contract and expand character, if not primer, the original MDF color will show up, which will look ugly.
If stain color, for the center panel edges, we’ll primer edges first too before assemble.
Use glue, we glue together door stile, door rail and center panel, then put doors or drawr fronts and face frame in high-frenquency machine make sure components glue togher tightly. No crack in future.
Step 5, Sanding Doors / Drawer Fronts / Face frame
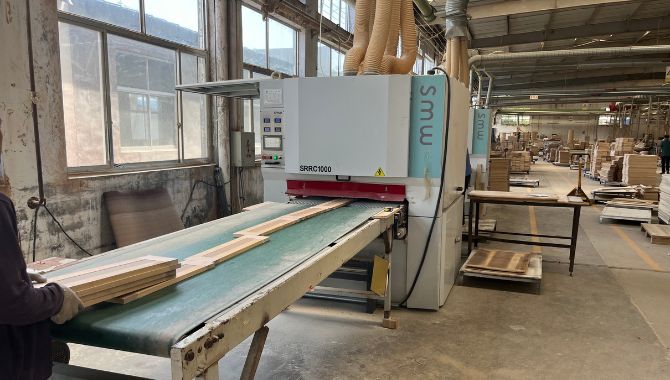
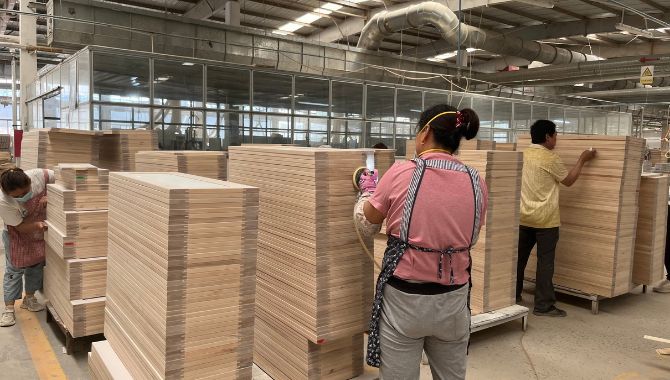
After assemble doors, drawer fronts and face frame, remove all extra glue, sand them on sanding machine and with hand sanding too.
Each piece of door, drawer front and face frame is sanded. As you can see from the video, every worker with head light on, check carefully, won’t miss any defects, any worm holes.
Each piece is touched by hand, make sure no burr.
After sanding, apply primer then sand again and paint.
Step 6, Full Inspection for Each Kitchen Cabinet Door
After sanding, each piece of kitchen cabinet door is stacked together, and inspected with head lamp on. Makre sure we won’t miss any defects.
This guarantee no holes or dents on door surface after paint, you’ll get 100% nice and wonderful kitchen cabinet from you.
With such craftmanship, we guarantee our great quality, make sure our customer receive fewer quality claim.
Step 7, Painting Doors / Drawer Fronts / Face frame
After sanding, apply primer in the Cefla machine, then sand again.
Normally 3 times primers and 2 times top coat.
This paint machine is Italy imported Cefla autospray machine, with 8 guns running back and forth.
For paint color (white/gray/blue/black/antique white etc), we paint in this machine; for stain color (espresso/maple etc), we normally use handing paint line.
Step 8, Assemble Each Type of Cabinet before Package
Normally for new customers, before mass production, we’ll build sample cabinet for each type of kitchen cabinet, then we measure height, width, depth, overlay, dimensions, constructions, take pics and videos and send to customer. Make sure drawings are correct.
Then after mass production, before we package, we’ll assemble each type of kitchen cabinet, check quality, dimensions again, and we keep record of each type of kitchen cabinet in file.
Thus guarantee customers get great products.
Step 9, Package
This is how we package the facia and box.
1.We’ll assemble each type of kitchen cabinet, make sure dimension correct, quality good, no defects. Then we disassembled all parts.
2.Normally we install drawer box front to drawer front, to save customer assemlbe time (due to high labor cost); each part is well wrapped with foam layer and bubble wrap, to prevent scratches during shipment.
3.Put all parts in the fit carton box (each carton box dimension is designed make sure components not move in the box, stay tight and no shift during transport), then use tape seal the carton.
4.Each carton has PO# and SKU on it, thus guarantee kitchen cabinet remain good condition and ready for installation at customer warehouse or jobsite.


